Grandpa Walkthrough
Hey folks :) Today we have a simple and easy machine with new tricks and techniques “Grandpa” from HackTheBox, Let’s see the machine’s info…

As you can see, it is easy and based on Windows, let’s get started…
Nmap scan
Nmap by default will scan the first 1000 port, so we will ask it to return the service running and check the scripts by typing -A with the argument as you can see nmap -A -T4 -oG grandpa.gnmap and the -T4 to increase the speed and -oG for generating .gnmap extension file to use it in brute-forcing credentials if it’s exist

As you can see we have only one open port and service Microsoft IIS 6.0 so we will search for vulnerability in this version and the results

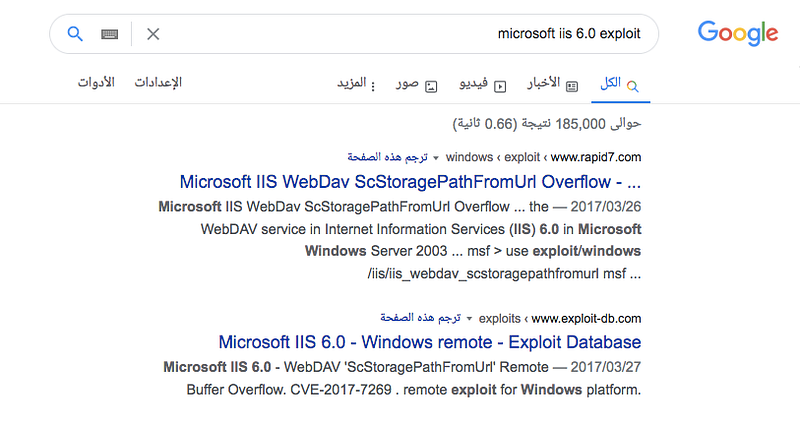
so we will use ScStoragePathFromUrl from exploit-db or rapid7
I will use the metasploit module and insert the RHOSTS & LHOST and payload windows/meterpreter/reverse_tcp and then run.
You will get meterpreter session as you can see, but unfortunately you have low privileges, so we will work to gain more privileges let’s put this exploit in the background by typing background and search for vulnerabilities which the machine is affected by them

Let’s use a module which can scan the machine for CVEs, let’s search for suggester and you will find it

local_exploit_suggester will search for the vulnerability and then return the results for us, just set the SESSION to the number of the session which you created before and then set SESSION <session-id>
Note:
1. You can type
sessionsto know the<session-id>for each session you open2. You can use Windows-Exploit-Suggester to scan and get the same results with more details about each vulnerability if you don’t want to use metasploit to pewhatrform this task. “You will need to get system info in text file, check the tool’s Usage”
lets run it
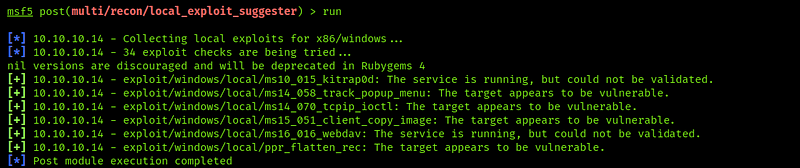
As you can see we have more CVE’s, I’ve searched for everyone and find that the last one is what we search for (Local Privileges escalation)

Let’s select it and edit the session also with the previous method and then run

As you can see here it didn’t work because it doesn’t have access so let’s return to the main exploit module and see what’s service which prevent us.
You can return to the previous session by typing
SESSIONS -i <session-id>
After returning to the first session type ps to list all working processes and you will find service called wmiprvse as you can see

And to know more about this service

After knowing what’s the service which prevent the previous exploitation, we need to cancel it’s work now, but we will not kill it, so we will migrate it by typing migrate <process-id> and to know more about migration

Okay good, now we can return to the previous exploitation and run it again

Nice, we’re root now
let’s search for the flag text files
Stay in touch
Last updated